Step 1: Digging the Post Holes
Digging post holes is tough work, especially in Queensland clay, but it’s the foundation that keeps your wall standing for decades.
- Depth Rule of Thumb: For most Queensland soils, the post in the ground should be the same length as the wall above ground (a 1:1 ratio).
- Example: A 1m high wall needs 1m of post buried (plus an extra 100mm for a concrete pad).
- Diameter: Bore your holes to 450mm wide for main posts. This gives you enough concrete around the steel to hold back Queensland soil.
Note: If you’re building in reactive clay or unstable ground, which is common around Ipswich and Brisbane, you may need deeper holes. If you’re not sure, check with an engineer.
Step 2: Setting the Posts
Get every post exactly right. Consistency here is what makes your wall look professional and last for years.
- Pad: Pour a layer of 25 MPa concrete into the bottom of each hole, following recommended footing depths. Make sure the pad is level across all holes.
- Posts: Place your galvanised steel posts into the holes.
- Alignment: Use your string line and spirit level to get each post perfectly upright and in line with the next. Take your time here (accuracy now saves headaches later).
- Pour: Brace your posts so they stay put. Pour concrete around them, stopping about 200mm below ground level to leave room for soil cover later.
- Cure: Agitate the concrete to get rid of air pockets, then let it cure for at least 24 to 48 hours before you touch it again.
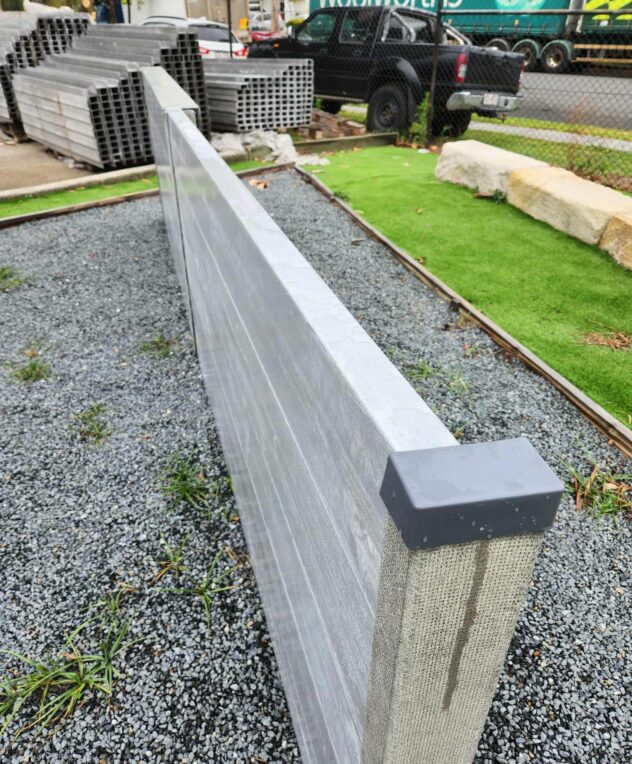
Step 3: Installing the Concrete Sleepers
Once your posts are set and solid, you’re onto the satisfying part: installing the sleepers.
- Measure the distance between the posts at the top and bottom to ensure they haven’t shifted during curing.
- Carefully lift your first concrete sleeper (always get a mate to help) and slide it down the steel channels so it sits firmly on the concrete pad.
- Wedging (Do not skip this): Use wedges or packers behind the steel post to push the sleeper forward. This locks it in place and stops any rattling or leaning.
- Stack the rest of your sleepers, checking for level as you go.
Step 4: Drainage Management
Water pressure is the main reason retaining walls fail in Queensland. You must give water a way to escape.
- Geo-Fabric (The ‘U’ Method): Line the back of the cut earth, across the trench base, and up the back of the sleepers with geo-fabric. This keeps soil from clogging your drainage.
- Agi Pipe: Lay a 100mm slotted Agi pipe at the base of the ‘U’, right behind the bottom sleeper. Connect it to stormwater so water drains away from the wall.
- Aggregate Backfill: Fill the ‘U’ over the pipe and behind the wall with clean 20mm drainage aggregate.
- Warning: Do not use soil or road base here.
- The drainage rock should extend from the back of the wall up to the bottom of the top sleeper.
- Seal It: Fold the extra geo-fabric over the top of the rock to close the ‘U’. Then cover the last 200mm behind the wall with soil.
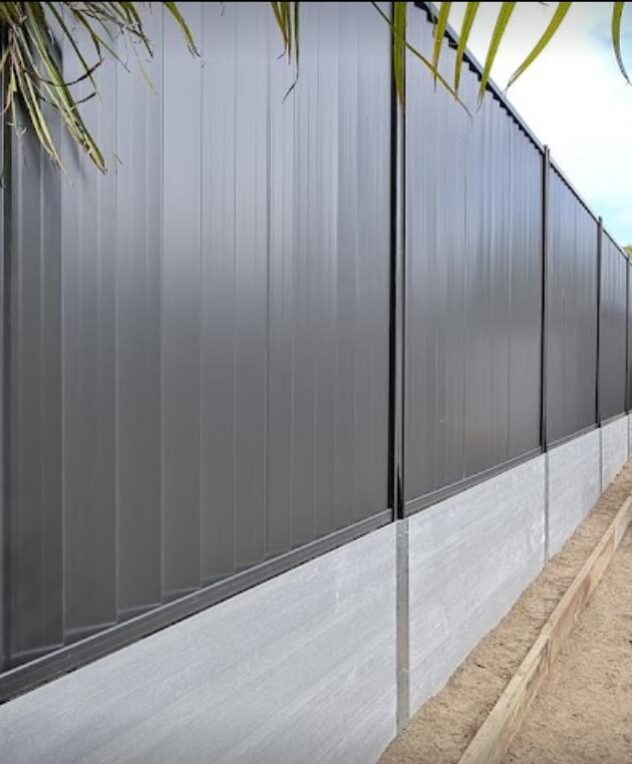
Step 5: Final Backfill
Once your drainage is sealed, backfill the rest of the soil in 200mm layers, lightly compacting each layer as you go.
Caution: Keep heavy machinery well away from the retaining wall to avoid pushing it out of alignment.
Frequently Asked Questions About Concrete Retaining Walls
How deep should a concrete sleeper retaining wall be?
The industry “rule of thumb” is a 1:1 ratio. If your wall is 1m high, your post needs to be 1m in the ground (2m total post length). However, always follow engineering plans for walls over 1m or in sandy/reactive soil.
Are sleeper retaining walls easy to build?
The idea is simple, but the work is tough. Digging holes in Queensland clay and lifting 80kg sleepers takes stamina. If you’re not confident with heavy lifting or levelling, it’s best to hire a pro.
How to build a concrete sleeper retaining wall on a slope?
You cannot angle the sleepers to follow the slope. You must “step” the wall. This involves keeping the sleepers level while raising or lowering the post heights in increments (usually 200mm, the height of one sleeper) to follow the land’s gradient.
Need materials or advice?
Don’t guess. Call the HYBUILT team in Rocklea for Queensland-made concrete sleepers, galvanised posts, agi pipe, wedges, geo-fabric and more. We’re a one-stop shop for everything you need for concrete retaining walls, and we’ll help you get it right the first time.
 PRICE BEAT GUARANTEE! - T&C's Apply